 EVE卫浴
EVE卫浴
How Do You Install a Shower Head on Tile Without Cracking It?
浏览次数:176 分类:Install
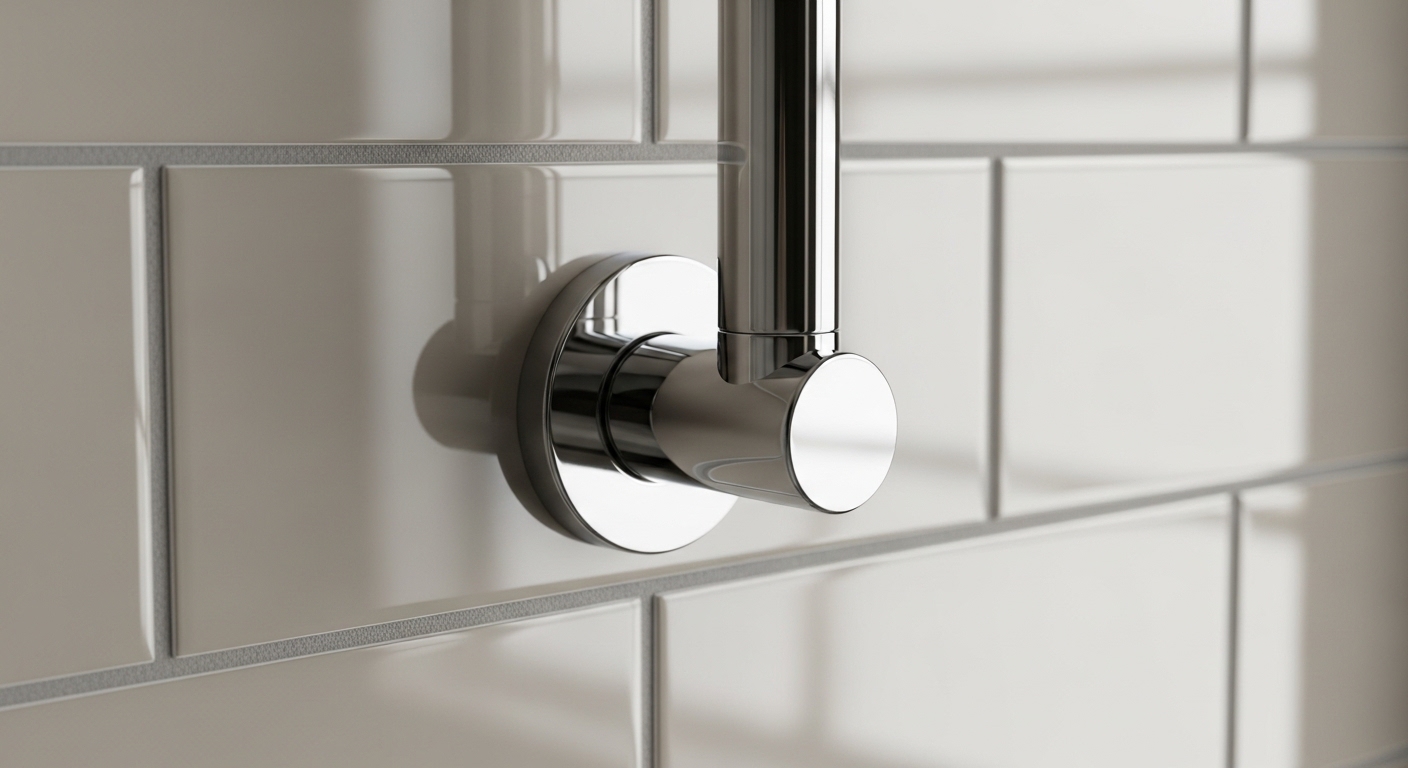
Learning how to install a shower head on tile sounds intimidating because people picture drilling into glazed ceramic and hearing that awful crack. Good news: a standard shower head replacement never requires you to drill, screw, or fasten anything into the tile itself. The shower head threads onto a pipe called the shower arm, which already comes out of the wall through a hole in the tile. You’re just swapping what’s on the end of that arm. Below I’ll walk through the exact steps, the tools you need, when tile actually does come into play (spoiler: only during arm replacement), and how to avoid the two mistakes that cause 90% of leaks.
Do You Actually Have to Drill Into the Tile to Install a Shower Head?
No — and this is the single biggest misconception. A wall-mounted shower head screws onto the shower arm, which is a curved pipe already installed and protruding through the tile. You never fasten the head to the wall surface. The tile just has a hole the arm passes through, usually hidden by a decorative cover plate called an escutcheon.
So when someone asks how to install a shower head on tile, what they’re really asking is “how do I swap the head on the pipe coming out of my tiled wall without breaking anything or causing a leak?” The tile is a bystander. The only fasteners involved are the threaded connections between metal parts. That’s why this is genuinely a beginner-friendly job — far easier than replacing a cartridge or a valve.
The exception is a handheld shower head with a wall bracket or a slide bar. Those brackets sometimes do mount to the tile with screws and anchors — but even then, most kits are designed to mount into the existing shower-arm flange or use a bracket that clips onto the arm itself, so you can often avoid drilling. If you do have to drill tile, I cover that safely in its own section below.
What Tools and Materials Do You Need to Replace a Shower Head?
You need almost nothing: an adjustable wrench, plumber’s tape (PTFE thread-seal tape), and a rag. That’s the whole kit for a basic swap. Total cost under $10 if you don’t already own a wrench.
Here’s the full list so you’re not stopping halfway through:
- Adjustable wrench or channel-lock pliers — to grip the shower arm and old head. A 6-inch wrench is plenty.
- Plumber’s tape (PTFE / Teflon tape) — the white roll. This is non-negotiable; it’s what actually stops threaded leaks.
- A rag or old washcloth — to protect finishes and improve grip.
- Masking tape — optional, to wrap wrench jaws so you don’t scratch a brushed nickel or matte black finish.
- Your new shower head — check that it says “standard 1/2-inch NPT connection,” which is the universal size in North America.
You do not need a drill, screws, anchors, silicone caulk, or a plumber. If a product listing tells you otherwise for a simple fixed head, be skeptical. For reference on what a quality head is worth, our guide on which rainfall shower head unit you should actually buy in 2026 breaks down where your money goes.
How Do You Install a Shower Head on Tile Step by Step?
Remove the old head by turning it counterclockwise off the shower arm, clean and re-tape the arm threads, then hand-thread the new head on clockwise and give it a quarter-turn with a wrench. Start to finish, that’s the whole process — here it is in detail.
- Turn off the shower (not the main water). You don’t need to shut off your home’s water supply for a shower-head swap — the shower valve is already closed when the handle is off. Just make sure the handle is in the off position.
- Remove the old shower head. Grip the shower arm’s octagonal base with one wrench (or your hand) to hold it steady, and turn the shower head counterclockwise. Hold the arm still so you don’t unscrew the arm from the wall elbow by accident — that’s the move that actually risks disturbing tile.
- Clean the threads. Wipe the threads on the end of the shower arm with your rag. Peel off every scrap of old, gummy plumber’s tape. Threads must be clean and dry for the new tape to seal.
- Apply fresh plumber’s tape. Wrap the tape clockwise (the same direction the head screws on) around the arm threads, 3 to 4 wraps, pulling it snug into the grooves. Clockwise matters — wrap the wrong way and the tape unravels as you thread on the head.
- Thread on the new head by hand. Screw the shower head on clockwise until it’s hand-tight. It should go on smoothly. If it binds or feels gritty, back it off and restart — you’ve cross-threaded it, and forcing it will ruin the threads.
- Snug it with a wrench. Give it a gentle quarter to half turn past hand-tight with the wrench. Do not crank it. Over-tightening cracks plastic fittings and strips threads far more often than under-tightening leaks.
- Test for leaks. Turn the shower on and watch the connection at the arm for 30 seconds. A slow drip there means re-tape and try again. No drip means you’re done.
That’s genuinely it. If your project is a full shower faucet or valve rather than just the head, the process is different and more involved — see our walkthrough on installing a Moen Graeden shower faucet yourself in an afternoon for that scope.
When Do You Actually Need to Touch the Tile — and How Do You Drill It Safely?
You only touch tile in two scenarios: replacing the shower arm entirely, or mounting a handheld bracket or slide bar that requires anchors. Both are avoidable most of the time, and when they aren’t, tile can be drilled safely with the right bit and a slow hand.
Replacing the shower arm: If your old arm is corroded, the wrong length, or you’re upgrading to a longer arm for a rainfall head, you’ll unscrew the whole arm from the threaded elbow (the “drop-ear elbow”) hidden inside the wall. Pull the arm straight out through the tile hole, wrap the new arm’s back threads with plumber’s tape, and thread it into that same elbow. You’re threading into a fitting behind the wall — not into tile — so no drilling is needed. Slide the escutcheon back to cover the hole.
Drilling for a bracket (only if unavoidable): If a handheld kit demands wall anchors and you can’t use the shower arm as the mount point, here’s how to drill tile without cracking it:
- Use a carbide-tipped or diamond tile bit, never a standard twist bit.
- Put a strip of masking tape over the drill spot to stop the bit from wandering on the slick glaze.
- Drill on low speed with no hammer function and light pressure. Let the bit do the work; heat and force are what crack tile.
- Drill through into a plastic wall anchor, and aim for grout lines when you can — grout is more forgiving than the glazed face.
Fixed vs. Handheld vs. Rainfall: Which Shower Head Is Easiest to Install on Tile?
A fixed wall-mount head is the easiest — it threads directly onto the existing shower arm with zero tile work. Handheld and rainfall heads can add complexity (a diverter, a longer arm, or a bracket), but all three still connect to the same 1/2-inch shower arm. Here’s how they compare.
| Type | Tile drilling needed? | Difficulty | Extra parts | Time |
|---|---|---|---|---|
| Fixed wall-mount head | Never | Very easy | Just plumber’s tape | ~10 min |
| Handheld on shower-arm bracket | Rarely | Easy | Hose + arm-mount bracket | ~15 min |
| Handheld on slide bar | Sometimes (anchors) | Moderate | Slide bar, anchors, screws | 30–45 min |
| Rainfall (wall-arm) | Rarely | Easy–moderate | Longer/high-arc arm | ~15 min |
| Ceiling-mount rainfall | N/A (ceiling) | Advanced | Rough-in plumbing | Pro job |
The takeaway: if you want the simplest possible install and no tile risk, pick a fixed or arm-mounted head. If you’re set on a handheld with a slide bar, budget for a couple of anchor holes. Deciding between styles first? Our comparison of whether a Jaquar shower head is worth it in 2026 helps you match the head type to your water pressure and bathroom.
Why Is My New Shower Head Leaking or Spraying Weakly After Install?
A leak at the connection almost always means the plumber’s tape was skipped, wrapped the wrong way, or the head is under-tightened — re-tape clockwise and snug it. Weak spray usually means mineral buildup in the head or a flow restrictor doing its job, not an install error.
Run through this quick diagnosis:
- Drip at the arm connection: Remove the head, strip the old tape, re-wrap 3–4 times clockwise, and re-tighten. This fixes it 95% of the time.
- Weak or uneven spray on a brand-new head: Often just factory debris or hard-water scale. Unscrew the head and soak the face plate in white vinegar. Our step-by-step on cleaning a faucet head with vinegar and baking soda when it’s barely spraying works identically for shower heads.
- Overall low pressure everywhere: Check for a flow restrictor disc inside the inlet, or a clogged aerator/filter elsewhere in the line. This isn’t caused by installation.
- Cracked fitting: If you over-torqued a plastic connector, replace the head — a hairline crack will weep forever.
Author Note & Why You Can Trust This Guide
This guide was written by the evefaucet product and installation team, drawing on years of hands-on fixture testing and thousands of customer install questions. At evefaucet we design and pressure-test our shower heads and arms to standard 1/2-inch NPT specifications so they thread onto virtually any existing U.S. shower arm, and we back our fixtures with a manufacturer warranty against finish and function defects. Every install step above reflects how our support team actually walks customers through the job — no shortcuts, no filler. When we say something is a 10-minute job, it’s because we’ve timed it.
FAQ
Can I install a shower head on tile without a plumber?
Yes. A standard shower head swap requires no plumbing skills, no drilling into tile, and no shut-off of your main water. You unscrew the old head, tape the threads, and screw on the new one. Most people finish in under 15 minutes with just an adjustable wrench.
Do I need plumber’s tape to install a shower head?
Yes, always. Plumber’s tape (PTFE tape) seals the threaded joint between the shower arm and the head. Without it, water seeps through the threads and drips no matter how tight you crank the head. Wrap it clockwise, 3 to 4 times, before threading the head on.
Will installing a new shower head crack my tile?
Not for a standard fixed head — you never contact the tile, so there’s nothing to crack. The only crack risk comes from drilling tile for a slide-bar bracket, and even that is safe if you use a carbide or diamond bit on low speed with masking tape over the spot.
What size is a standard shower head connection?
The North American standard is a 1/2-inch NPT (National Pipe Thread) connection. Nearly every fixed and handheld shower head sold in the U.S. uses this size, which is why almost any new head threads onto your existing shower arm without adapters.
My shower arm turned when I removed the old head — is that a problem?
It can be. If the arm backs out of the elbow behind the wall, you risk breaking the seal there, which is a real leak inside the wall. Thread it back in with fresh tape and hold the arm steady with a second wrench whenever you tighten or loosen the head. If it feels loose or wobbly, re-tape the back threads before continuing.
How long does it take to install a shower head on tile?
About 10 minutes for a fixed head, 15 for a handheld on an arm bracket, and 30 to 45 minutes if you’re mounting a slide bar that needs anchors drilled into the tile. Cleaning and re-taping the threads properly is the part worth not rushing.