 EVE卫浴
EVE卫浴
How Do You Install a Glacier Bay Bathtub Faucet Yourself Without Calling a Plumber?
浏览次数:157 分类:Install
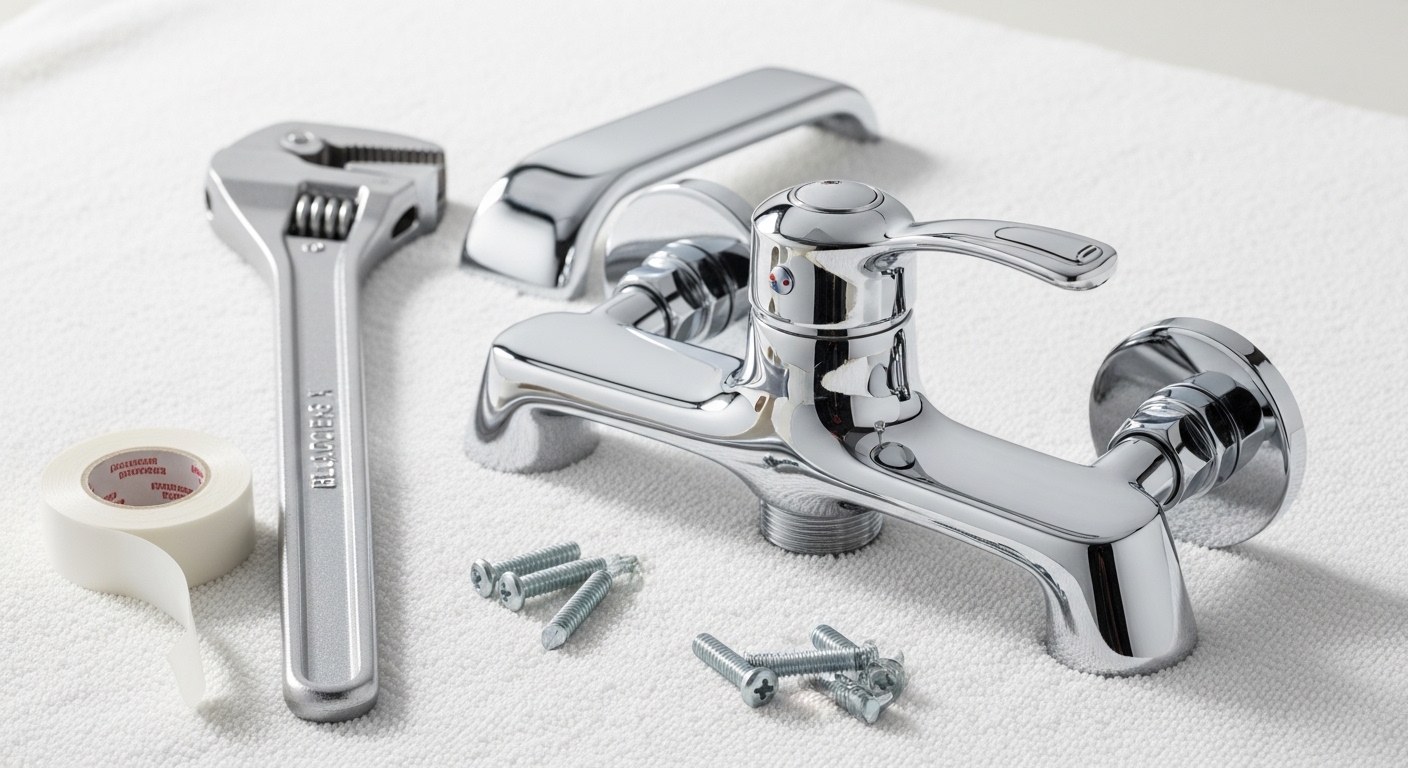
If you’re wondering exactly how to install glacier bay bathtub faucet hardware without paying a plumber $150–$400 for a couple hours of work, the honest answer is: you probably can, as long as you know which of two very different jobs you’re actually doing. Swapping a spout and handle onto an existing valve is a genuine 30-minute afternoon task. Installing the valve itself — the guts inside the wall — is a real plumbing job. This guide walks through both so you know what you’re getting into before the water’s off and the tile’s open.
Glacier Bay is Home Depot’s house brand, and its tub-and-shower faucets are built to be DIY-friendly: pressure-balance cartridges, standard 1/2-inch connections, and clear instruction sheets. That’s exactly why they’re so common in first-time renovations. Let’s get it in right the first time.
Which Job Are You Actually Doing — Trim Swap or Full Valve Install?
Before you buy anything, figure out which of these two jobs is in front of you, because they need different tools, time, and skill. A trim swap means the in-wall valve is already there and working, and you’re just replacing the visible parts: handle, cover plate, and spout. A full valve install means you’re setting a new pressure-balance valve inside the wall — soldering or push-fitting supply lines, testing for leaks, then closing up.
Here’s the quick test: turn the water on at the existing tub. If hot and cold both flow and mix correctly through the current handle, and you only dislike the look or have a dripping cartridge, you’re doing a trim swap. If there’s no valve, the wall is open to the studs, or you’re moving from a two-handle to a single-handle setup, you’re doing a full install.
| Factor | Trim Swap (valve exists) | Full Valve Install (in-wall) |
|---|---|---|
| Typical time | 30–60 minutes | 2–4 hours (plus tile/drywall) |
| Skill level | Beginner | Intermediate (soldering or PEX) |
| Wall access needed | No — work from the front | Yes — access panel or open wall |
| Water lines | Untouched | Cut, connect, pressure-test |
| Main tools | Allen wrench, screwdriver, plumber’s tape | Torch or PEX crimper, pipe cutter, level |
| Risk if done wrong | Minor drip | Hidden leak inside wall |
Roughly 70% of people searching how to install a Glacier Bay bathtub faucet are really doing a trim swap — so if that’s you, breathe easy. The valve work below matters mostly for new construction and gut renovations.
What Tools and Parts Do You Need for a Glacier Bay Tub Faucet Install?
You need surprisingly little: an adjustable wrench, a Phillips screwdriver, a 1/8-inch Allen (hex) key, plumber’s tape (PTFE), and a tube of 100% silicone caulk. For a full valve install, add a pipe cutter, a soldering torch with lead-free solder and flux (or a PEX crimper), and a small torpedo level. Glacier Bay kits include the cartridge, retaining clip, spout, escutcheon, and handle — but almost never include plumber’s tape or silicone.
Here’s the full checklist so nothing stops you mid-job with the water off:
- Adjustable wrench — for tightening the spout and supply nuts
- Phillips + flathead screwdrivers — cover plate and mounting screws
- 1/8″ Allen/hex key — most Glacier Bay single-handle set screws
- Plumber’s (PTFE) tape — for threaded slip-fit and pipe connections
- 100% silicone caulk — seals the spout and escutcheon against the wall
- Rag + bucket — residual water always drips out
- Pipe cutter + torch or PEX crimper — full valve installs only
- Cartridge puller — optional, helps on stubborn old cartridges
One tip that saves a second trip to the store: check whether your existing tub spout is a threaded type (screws onto a 1/2-inch nipple) or a slip-fit type (slides over a 1/2-inch copper stub and locks with a set screw underneath). Glacier Bay sells both, and they are not interchangeable. Look under the spout for a small hex set screw — that means slip-fit.
How Do You Install a Glacier Bay Bathtub Faucet Trim Kit Step by Step?
Shut off the water, remove the old handle and spout, install the new cartridge and clip, then attach the escutcheon, spout, and handle — that’s the whole trim swap in five moves. Here’s each step in order.
- Turn off the water. Use the bathroom shutoffs if you have them, or the main. Open the tub faucet afterward to relieve pressure and drain the line.
- Remove the old handle and cover plate. Pop the decorative cap, back out the screw, pull the handle straight off, then unscrew the escutcheon. Scrape off old caulk.
- Swap the cartridge (if replacing a leaky one). Pull the retaining clip with pliers, grip the old cartridge stem, and pull it straight out. Note the orientation — the new one goes in the same way, hot on the correct side. Push the new cartridge in fully and reseat the clip.
- Install the spout. For a threaded spout, wrap 3–4 turns of plumber’s tape clockwise on the nipple, then hand-thread the spout until snug and pointing down — don’t over-crank or you’ll crack it. For slip-fit, slide it on and tighten the set screw underneath. Run a bead of silicone where it meets the wall.
- Mount the escutcheon and handle. Seat the cover plate with a thin ring of silicone (leave the bottom edge un-caulked so any leak can escape and warn you), then attach the handle and tighten the set screw.
Turn the water back on slowly and test both hot and cold. Check for drips at the spout base and behind the handle for a few minutes before you call it done. If you want a deeper walkthrough of the spout portion specifically — threaded vs. slip-fit, sealing, and pointing it straight — our guide on how to put a tub spout in yourself without calling a plumber covers that one part in detail.
What About the In-Wall Valve — How Is a New Glacier Bay Valve Roughed In?
A new Glacier Bay pressure-balance valve gets mounted between the studs with its face set to the correct depth behind the finished wall, then the hot inlet, cold inlet, tub outlet (bottom), and shower outlet (top) are connected to your supply and riser pipes. Getting the depth right is the single most important measurement of the whole job.
The valve body is stamped with markings showing the acceptable range of wall thickness — usually a window that must sit somewhere between the minimum and maximum finished-wall line. Set it too deep and the trim won’t reach; set it too shallow and the escutcheon won’t seal. This is the same principle that trips people up on shower installs, and it’s worth reading up on the right shower valve rough-in distance from the finished wall before you commit the valve to the studs, because you can’t easily move it later.
Connect the four ports in the correct orientation: hot to the hot side (usually marked H or on the left as you face it), cold to the cold, the tub outlet to the spout drop, and the shower outlet up to the riser. Cap the shower outlet if you’re doing a tub-only install. Solder with lead-free solder or use PEX/push-fit connectors, keeping the cartridge out during soldering so you don’t melt the internal seals. Pressure-test with the water on and the wall still open — this is your one chance to catch a leak before it’s hidden behind tile.
While the wall is open, think about the spout drop height, because it determines how far your spout sits above the tub rim. Too low and the spout crowds the tub; too high and it looks awkward and splashes. We break down the ideal number in our piece on the right tub spout height above the tub and how high to set it.
How Long Does It Take, and What Does It Cost to DIY vs. Hire Out?
A trim swap takes 30–60 minutes and costs only the price of the faucet (Glacier Bay tub/shower kits typically run $60–$130). A full valve install takes 2–4 hours of hands-on work — more with tile — and hiring a plumber for that runs $250–$600 depending on wall access and your region. So the DIY savings are real, but they’re much bigger on the valve job than the trim swap.
Here’s the realistic breakdown:
| Scenario | Parts cost | Plumber cost (if hired) | DIY time |
|---|---|---|---|
| Trim swap only | $60–$130 | $120–$250 | 30–60 min |
| Cartridge replacement | $15–$40 | $150–$300 | 30–45 min |
| Full valve, wall open | $80–$160 | $250–$450 | 2–3 hrs |
| Full valve, closed wall | $80–$160 + patch | $400–$600+ | 3–5 hrs |
My honest take: do the trim swap and the cartridge yourself — they’re low-risk and satisfying. For a full valve behind finished tile, weigh it carefully. A hidden leak inside a wall can cause far more than $400 of damage, so if you’ve never sweated a copper joint, either practice on scrap first or hire out just the valve and do the trim yourself to split the cost.
What Goes Wrong Most Often — and How Do You Avoid It?
The three most common Glacier Bay install mistakes are a leaking spout base (skipped plumber’s tape or silicone), a cartridge installed with hot and cold reversed, and an over-tightened threaded spout that cracks. All three are avoidable in about 30 seconds of care each.
Watch out for these specifically:
- Reversed hot/cold: The cartridge only works correctly in one orientation. If hot comes out when you turn toward cold, the cartridge is rotated 180° — pull it and flip it.
- Over-tightened spout: Threaded spouts only need to be hand-snug plus a nudge. Cranking with a wrench cracks the threads or the wall nipple.
- No plumber’s tape: Even a “hand-tight” threaded connection weeps without 3–4 wraps of PTFE tape.
- Caulking the bottom of the spout/escutcheon shut: Leave a small gap at the lowest point so any hidden leak drips out where you’ll see it, instead of soaking the wall.
- Debris in the new cartridge: Flush the lines with the cartridge out before final assembly — construction grit ruins pressure-balance spools fast.
If your new install ends up with weak flow, that’s usually a plugged aerator, spout, or a cartridge not seated fully — not a bad valve. Low pressure after a fresh install is common and almost always a five-minute fix.
Author Note, Testing & Warranty
Written by the evefaucet product team. We design, spec, and pressure-test faucets and tub fixtures for a living, and this guide reflects hundreds of real bench and in-wall installations across single- and two-handle tub setups. evefaucet builds and sells bath and kitchen fixtures direct to homeowners, and we field installation questions from DIYers every day — the steps above are the ones that actually cut callbacks.
A credibility note on standards: reputable tub/shower valves, Glacier Bay’s included, are built to ASME A112.18.1/CSA B125.1 for plumbing fittings, and pressure-balance cartridges are tested to hold outlet temperature within a safe swing when someone flushes a toilet elsewhere in the house. Glacier Bay backs its faucets with a limited lifetime warranty on finish and function to the original homeowner — keep your receipt, since Home Depot ties warranty replacements to proof of purchase. At evefaucet, every faucet we ship is flow- and leak-tested before it leaves the line, and our tub fixtures carry their own limited lifetime warranty on the cartridge and finish.
FAQ
Can I install a Glacier Bay bathtub faucet without opening the wall?
Yes — if the in-wall valve is already there and working, you can do the entire trim swap (handle, cover plate, spout, and even the cartridge) from the front of the wall with no cutting. You only need to open the wall when you’re installing or replacing the valve body itself.
Do I need to solder anything to install a Glacier Bay tub faucet?
Only for a full in-wall valve install, and even then you can skip the torch by using PEX or push-fit (SharkBite-style) connectors instead of soldered copper. A trim swap or cartridge replacement requires no soldering at all — just hand tools and plumber’s tape.
Why is my new Glacier Bay tub spout leaking at the wall?
Almost always missing plumber’s tape or silicone. For a threaded spout, wrap 3–4 clockwise turns of PTFE tape on the nipple and run a bead of silicone where the spout meets the wall. For a slip-fit spout, check that the set screw underneath is tight and the O-ring inside isn’t pinched or torn.
How do I know if my Glacier Bay spout is threaded or slip-fit?
Look underneath the spout. A small hex (Allen) set screw near the wall means it’s slip-fit — it slides over a copper stub and locks with that screw. No set screw means it’s threaded and screws directly onto a pipe nipple. The two are not interchangeable, so match the replacement to what you have.
My hot and cold are reversed after installing the cartridge — how do I fix it?
Shut off the water, pull the retaining clip and remove the cartridge, rotate it 180°, and reinstall it in the correct orientation. Pressure-balance cartridges only deliver correct hot/cold when installed the right way up, so a flip is usually all it takes.
Is installing a bathtub faucet a good first plumbing project?
A trim swap or cartridge replacement is one of the best beginner plumbing projects — low risk, common tools, and fully reversible. A full in-wall valve install is a step up because of the hidden connections; if it’s your first time, do a trim swap first to build confidence, then tackle the valve with the wall open where you can pressure-test.