 EVE卫浴
EVE卫浴
How Do You Fix a Leaking Delta Faucet Handle Without Calling a Plumber?
浏览次数:319 分类:Repair
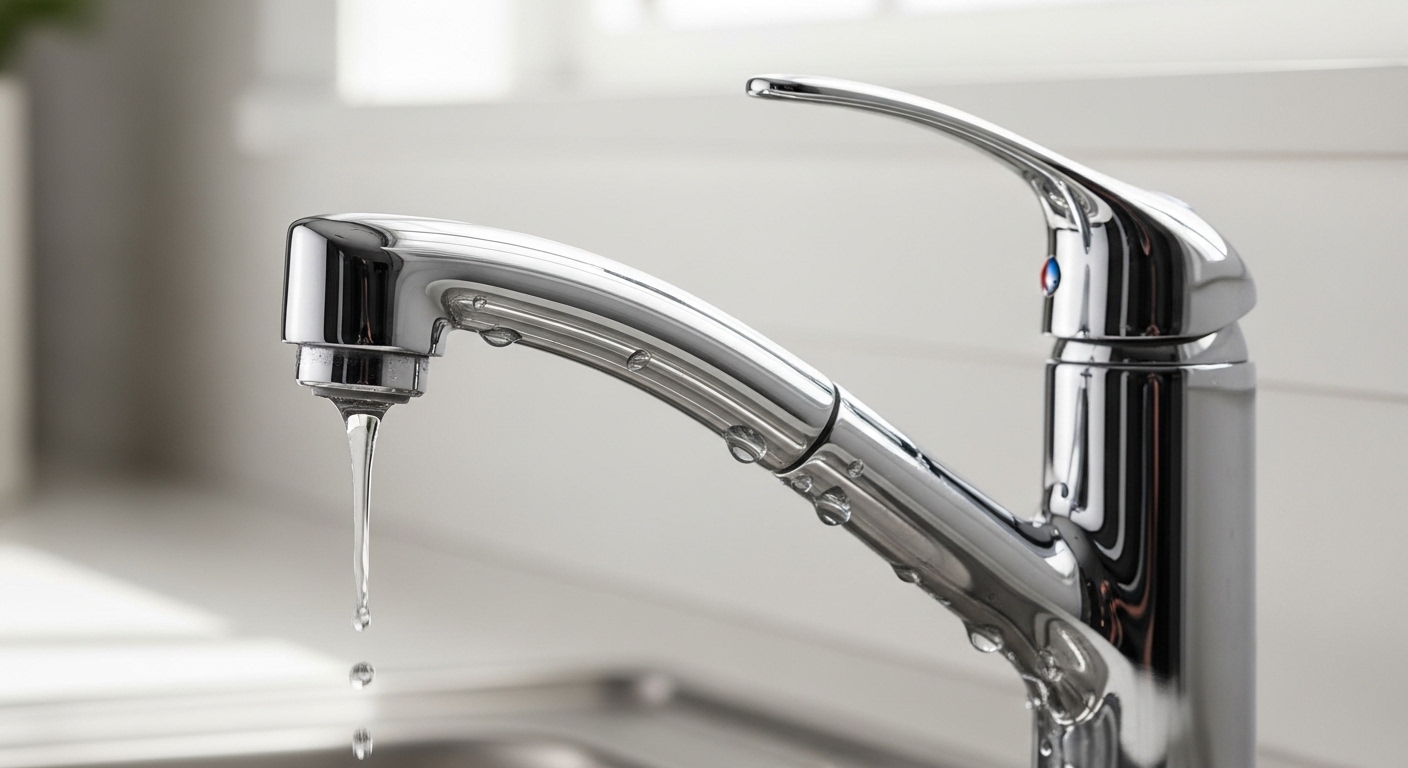
If you want to fix a leaking Delta faucet handle, the good news is that Delta faucets are some of the most repair-friendly on the market — the leak is almost never the faucet body itself, and you almost never need to replace the whole unit. Delta designs its valves around a few small, cheap, replaceable parts (rubber seats, springs, O-rings, and cartridges), and those parts are exactly what wear out and cause a drip at the handle. Below, we’ll walk through how to figure out *which* part is leaking, how to swap it, and how to tell whether you have an old ball-style valve or a newer cartridge — because the fix is different for each.
Why is my Delta faucet leaking from the handle in the first place?
A Delta faucet leaks at the handle because a rubber sealing part inside the valve has worn out, hardened, or gotten chewed up by mineral deposits — not because the faucet is “broken.” Water is meant to be held back by soft rubber seats (on older ball valves) or by O-rings and a ceramic cartridge (on newer models). Over months and years, those rubber parts compress, crack, or get scored by grit in your water, and water starts seeping past them and up around the handle.
Three culprits cause the vast majority of Delta handle leaks:
- Worn seats and springs — the #1 cause on classic Delta single-handle ball faucets. Two tiny rubber seats sit on little springs under the ball. They flatten out over time and let water dribble.
- Hardened or cracked O-rings — the rubber rings around the valve stem or spout dry out and crack, so water escapes around the base of the handle when you turn it on.
- A failed cartridge — on newer Delta models with a ceramic or diamond-seal cartridge, the whole cartridge can wear internally and leak from the handle even when the faucet is off.
Hard water is the accelerator behind all three. If you’ve noticed white crust building up on your fixtures, that same mineral scale is grinding away at the seals inside. It’s worth learning how to clean a faucet head from hard water buildup without wrecking the finish as routine maintenance — the cleaner your water runs through the valve, the longer your new seals will last.
How do I know if my Delta has a ball valve or a cartridge?
You can tell a Delta ball valve from a cartridge by the shape of the handle and the age of the faucet: the classic single-lever Delta with a rounded, dome-shaped cap under the handle is a ball valve, while faucets made in the last decade with a taller, cylindrical body and a set screw usually hold a cartridge. This matters because the two use completely different repair kits.
Here’s the honest shortcut: pull the handle off (we cover how below) and look at what’s underneath. If you see a rounded metal or plastic ball with slots in it sitting in a cap, you have a ball valve — you’ll be replacing seats and springs. If you see a straight cylindrical cartridge held down by a retaining nut or clip, you’ll be pulling and replacing that cartridge. Delta’s two-handle bathroom and kitchen faucets typically use a separate cartridge or stem on each side.
| Feature | Delta Ball Valve (older) | Delta Cartridge (newer) |
|---|---|---|
| Typical age | Faucets ~1990s–2010s | Faucets ~2012–present |
| What leaks | Rubber seats & springs | O-rings or whole cartridge |
| Repair part | RP4993 seats & springs kit | RP19804 / RP47201 cartridge |
| Typical part cost | $6–$12 | $15–$40 |
| Special tool | Delta wrench (in kit) | Usually just a hex key |
| Repair time | 20–30 min | 15–25 min |
What tools and parts do I need to fix a leaking Delta faucet handle?
For most Delta handle leaks you need a hex/Allen key, an adjustable wrench or Channellock pliers, and the specific repair kit for your valve — plus a rag and some plumber’s grease. You do not need a torch, solder, or any plumbing skills beyond turning a wrench.
Here’s the practical checklist before you start:
- Allen (hex) wrench — usually 3/32″ or 1/8″ to loosen the handle set screw. Delta often includes one in the repair kit.
- Adjustable wrench or slip-joint pliers — to loosen the cap or retaining nut.
- The right repair kit — RP4993 (seats & springs) for ball valves; RP19804 (O-rings/springs/seats bundle) or the model-specific cartridge for newer faucets. Snap a photo of your faucet and match it on Delta’s parts finder.
- Silicone plumber’s grease — a dab on new O-rings makes them seat cleanly and last longer.
- A rag and a bowl — to plug the drain and catch small parts. Losing a spring down the drain is the classic mistake.
How do I actually replace the seats and springs on a Delta single-handle faucet?
To fix a leaking Delta single-handle faucet, turn off the water, remove the handle and cap, lift out the ball, pull the two old seats and springs out of the valve body, drop new ones in, and reassemble. Start to finish it takes about 25 minutes.
Step by step:
- Shut off the water. Turn both supply valves under the sink fully clockwise, then open the faucet to release pressure and confirm the water is off.
- Remove the handle. Loosen the set screw under or behind the lever with your hex key and lift the handle straight off.
- Unscrew the adjusting ring and cap. The domed cap threads off — use pliers wrapped in a rag so you don’t scratch the finish.
- Lift out the ball and cam. Note how the slot in the ball lines up with the pin — it only goes back one way.
- Remove the old seats and springs. Down inside the valve body you’ll see two rubber seats sitting on springs. Hook them out with a small screwdriver or the tool in the kit.
- Install the new seats and springs. Slide each spring onto the tool, tapered end first into the hole, then push the rubber seat on top until it seats flush.
- Reassemble in reverse. Ball, cam, cap, adjusting ring (snug, not gorilla-tight), then the handle.
- Turn the water back on slowly and check the handle for drips. If it still weeps, snug the adjusting ring a hair more.
If, once you’re in there, you find that the leak is actually coming from where the spout meets the base rather than the handle, that’s a different (but related) fix — our guide on why a kitchen faucet leaks at the base and how to fix it yourself covers the spout O-rings that cause that specific drip.
How do I replace a Delta cartridge if the seats-and-springs fix doesn’t apply?
On newer Delta faucets, you fix a leaking handle by pulling the entire cartridge and dropping in a new one — remove the handle and bonnet nut, lift out the old cartridge, note its orientation, and press the replacement in the same way. There are no separate springs to fumble with, which honestly makes it the easier repair of the two.
The one thing that trips people up is alignment. Delta cartridges have tabs or a keyed notch that must line up with slots in the valve body — if you force it in rotated the wrong way, your hot and cold will be reversed or the handle won’t sit right. Look for the “H”/”C” markings or the flat side and match it to the body before pressing down. Seat it fully, hand-tighten the bonnet nut, then snug it with a wrench a quarter turn past hand-tight.
My Delta faucet still drips after I replaced the parts — what did I miss?
If your Delta still drips after a repair, the most common reasons are an under-tightened adjusting ring, a seat installed without its spring, debris caught under the new seat, or a cracked O-ring you didn’t replace while you were in there. Nine times out of ten it’s the adjusting ring on a ball valve — it needs to be snug enough to press the ball firmly onto the new seats.
Run through this quick diagnostic:
- Drip from the spout when off? The seats/springs or cartridge aren’t sealing — re-tighten the adjusting ring or reseat the cartridge.
- Water around the base of the handle when running? That’s an O-ring, not a seat. Replace the O-rings around the valve stem.
- Grinding or stiff handle? A bit of debris or a dry O-ring — add silicone grease.
- Still leaking after all that? The valve body itself may be scored by hard water; a full cartridge/valve swap is the fix.
Before you go deeper, it’s worth ruling out that the problem isn’t really pressure- or debris-related. A faucet that sputters or trickles rather than truly leaks can be a clogged aerator or supply issue — if that sounds more like your symptom, the walkthrough on low water pressure at a faucet and how to fix it will save you from replacing parts that were never the problem.
Is it worth repairing a Delta faucet handle, or should I just replace the faucet?
Repair almost always wins for a Delta. A repair kit costs $8–$25 and takes under 30 minutes, versus $150–$400+ and a much bigger job to replace the whole faucet — and because Delta’s core valve design is genuinely durable, a $10 seats-and-springs kit typically buys you several more years of leak-free use.
The one time replacement makes sense is when the valve body itself is corroded or pitted from years of hard water, or when you’re already unhappy with the faucet (dated finish, worn spray head, wobbly base). In that case, put the repair money toward an upgrade instead. If you’re weighing brands for a future replacement, our Moen vs Kohler kitchen faucet comparison breaks down how the major brands stack up on repairability and long-term value — the same “how cheap and easy are the parts” thinking applies to your next faucet.
FAQ
How much does it cost to fix a leaking Delta faucet handle?
The parts to fix a leaking Delta faucet handle cost $8–$25 for most repairs — around $6–$12 for a seats-and-springs kit on a ball valve, or $15–$40 for a full cartridge on a newer model. If you do it yourself there’s no labor cost, and Delta supplies most repair parts free under its lifetime limited warranty, so you may only pay for shipping or nothing at all.
Does Delta really send free replacement parts?
Yes. Delta’s lifetime limited warranty covers the original consumer with free replacement of functional parts (seats, springs, cartridges, O-rings) that wear out. Contact Delta with your model number, and they’ll typically ship the repair part at no charge — one of the strongest ownership perks of the brand.
Can I fix a Delta handle leak without turning off the water?
No — always shut off the supply valves under the sink first. The moment you remove the cap or cartridge, pressurized water will spray out and can flood the cabinet. If your under-sink shutoffs don’t work, turn off the home’s main water supply before you start.
What’s the difference between RP4993 and RP19804 Delta parts?
RP4993 is the classic seats-and-springs kit for older Delta single-handle ball valves, while RP19804 is a repair kit that bundles seats, springs, and O-rings for many single-handle faucets. Always confirm the exact part against your faucet’s model number using Delta’s online parts finder, since the correct kit depends on your specific valve.
How long should a Delta faucet repair last before it leaks again?
A properly done seats-and-springs or cartridge replacement typically lasts 5–10 years, sometimes far longer with soft water. If yours starts dripping again within a year, the usual culprit is hard-water scale scoring the new parts — softening your water or descaling the fixture periodically dramatically extends the life of the seals.
Is a dripping Delta faucet actually a big deal?
Yes, more than people think — a faucet dripping once per second wastes roughly 3,000 gallons a year, and constant moisture can stain the sink and corrode the valve further. Fixing a handle leak early with a cheap kit prevents both the water waste and a more expensive valve-body failure down the road.
A note from the EveFaucet workshop
This guide was written by the EveFaucet repair team, who install, test, and rebuild residential faucet valves every week — including Delta ball and cartridge designs — as part of designing and quality-checking our own fixtures. We build our recommendations around real teardown experience, not spec sheets: the seats-and-springs procedure above is the same one our bench techs use, and the part numbers are the current Delta OEM references at the time of writing. Faucet valves and repair parts are engineered to standards like ASME A112.18.1/NSF 61 for safe potable-water contact; whenever you replace a component, use manufacturer-matched parts to keep that rating intact and your warranty valid. When in doubt about your exact model, confirm the part with Delta’s parts finder before you buy.